
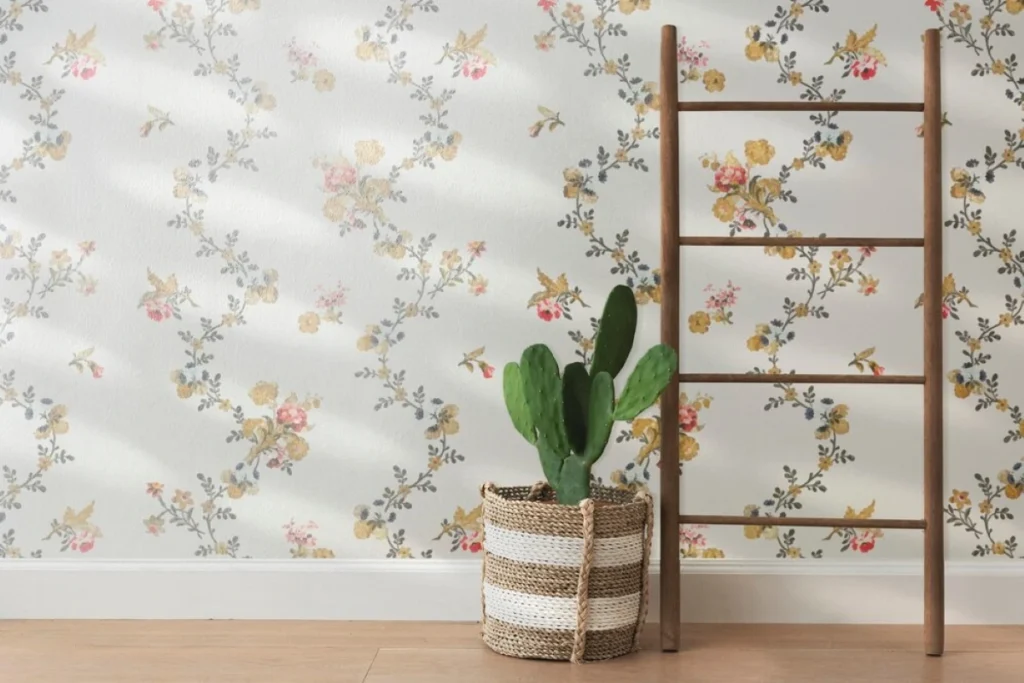
Where should you start when wallpapering?
Are you eager to infuse your living space with a fresh burst of style and personality? Wallpapering offers an excellent opportunity to revitalise your walls and breathe new life into any room. But if you’re new to the world of wallpapering, figuring out where to start can feel a bit daunting. Fear not! In this comprehensive guide, we’ll walk you through each step, ensuring a smooth and successful wallpapering experience.
-
Preparation is Key
Before you dive into your wallpapering project, take some time to prepare your space. Clear the area of furniture, wall decorations, and any other obstacles that may impede your progress. Creating a clutter-free workspace will allow you to move freely and work more efficiently.
-
Gather Your Materials
Make a checklist of all the supplies you’ll need for the job. This includes wallpaper, adhesive, a brush or roller, a utility knife, a smoothing tool, and a sponge. Having everything at your fingertips will streamline the process and prevent unnecessary interruptions.
-
Measure Twice, Cut Once
Accurate measurements are crucial for ensuring you have enough wallpaper to cover your walls effectively. Measure the height and width of each wall, taking note of any doors, windows, or other architectural features. This will help you calculate how much wallpaper you’ll need and where to start hanging it.
-
Select Your Starting Point
Choosing where to begin hanging your wallpaper can make a big difference in the final result. Opt for a corner or a less conspicuous wall to start, as any imperfections or mistakes will be less noticeable in these areas.
-
Prepare the Wallpaper
Once you’ve selected your starting point, it’s time to prep your wallpaper. Cut the wallpaper into manageable strips, leaving a few extra inches at the top and bottom for trimming. Apply adhesive to the back of each strip according to the manufacturer’s instructions, ensuring even coverage.
-
Hang with Care
With your wallpaper strips ready to go, carefully position the first strip against the wall, making sure it’s straight and aligned with the ceiling or corner. Use a smoothing tool to remove any air bubbles and achieve a smooth, seamless finish.
-
Continue in Sequence
Move on to the next strip of wallpaper, aligning the pattern and edges with the previous strip. Repeat this process until the entire wall is covered, taking care to maintain consistency and precision throughout.
-
Trim and Tidy
Once all the strips are hung, use a utility knife to trim any excess wallpaper from the top and bottom edges. Take your time with this step, ensuring clean, precise cuts without damaging the walls or the wallpaper.
-
Clean-Up Time
With the wallpaper securely in place, it’s time to tidy up your workspace. Wipe away any excess adhesive with a damp sponge and remove any debris or leftover materials. This will leave you with a clean, polished finish that’s ready to showcase.
-
Admire Your Handiwork
Step back and take a moment to admire your newly wallpapered walls. Revel in the transformation you’ve accomplished, knowing that your efforts have added a touch of style and sophistication to your home.
Congratulations! You’ve successfully navigated the wallpapering process from start to finish. By following these simple steps and exercising patience and attention to detail, you’ve achieved professional-quality results that are sure to impress. Now sit back, relax, and enjoy your newly transformed space!
