
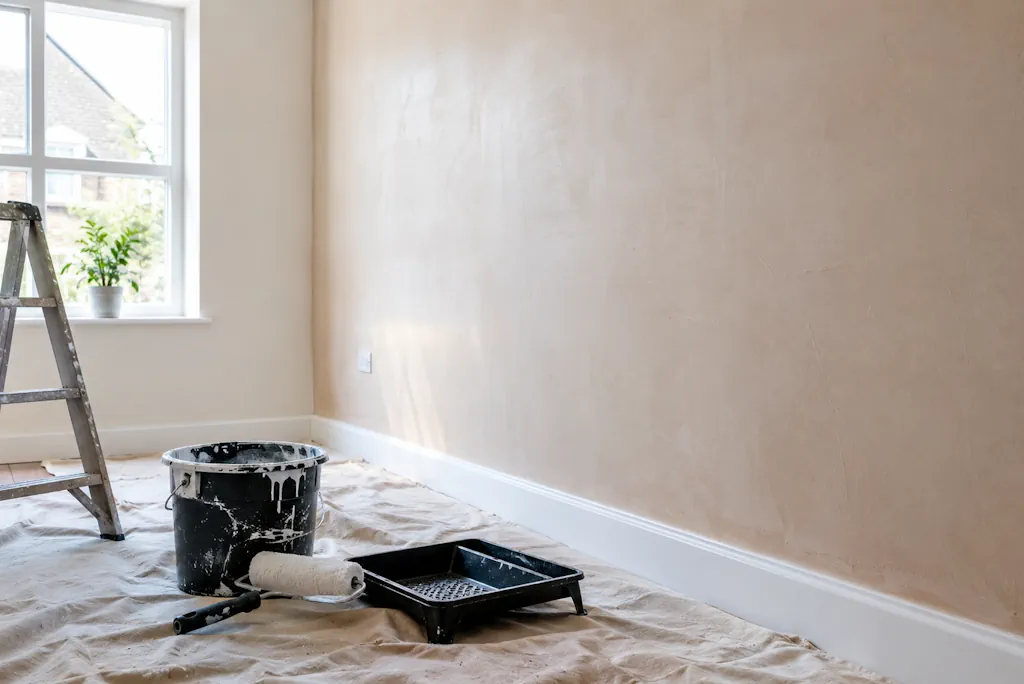
How Soon Can You Paint New Plaster?
Fresh plaster looks tempting to cover the moment it’s smooth and dry to the touch. Don’t rush it. Painting too early is one of the most common mistakes on renovation jobs, and it causes problems that show up weeks or months later, not straight away.
Why New Plaster Needs Time
Wet plaster contains a huge amount of water, mixed in during application to keep it workable. As it cures, that water has to leave the wall completely, not just from the surface but from deep within the material itself. Paint forms a film. If you apply it while moisture is still trapped inside the plaster, that film seals the water in. It has nowhere to go.
The result is often blistering, flaking, or a patchy, uneven finish. In worse cases, trapped moisture leads to mould growth behind the paint, which you won’t spot until it starts pushing through or the smell gives it away. None of this is reversible without stripping back and starting again.
The General Drying Timeline
Most plasterers and decorators agree on a rough rule: allow one week of drying time per 5mm of plaster thickness, under normal conditions. A standard skim coat, usually around 2mm, needs a minimum of a week. A full re-plaster or thicker patch could need three to four weeks, sometimes longer.
These figures assume decent airflow and moderate temperatures, somewhere between 15°C and 20°C. Cold, damp conditions slow everything down. A poorly ventilated room in winter can double the drying time without much visible sign that anything’s wrong.
Signs the Plaster Isn’t Ready
Colour is the clearest indicator. Fresh plaster starts dark pink or brown and dries to a uniform, light pink or off-white shade. If you still see darker patches, especially in corners or near the edges, moisture is still working its way out.
Touch tells you more. Dry plaster feels cool and slightly chalky. Damp plaster feels cold and has a faint dampness you can sense with the back of your hand, even if it looks dry.
A moisture meter removes the guesswork. Professional decorators use them constantly, and they’re not expensive. Readings above 1% suggest the wall isn’t ready. Anything under that is generally safe to proceed.
Preparing the Room to Speed Things Up
You can’t force plaster to dry faster than its chemistry allows, but you can create better conditions. Open windows when the weather permits it. Cross-ventilation, air moving through two points rather than just one, clears moisture far more effectively than a single open window.
Avoid using direct heat sources like radiators or heaters pointed at the wall. This dries the surface too quickly while the inside stays wet, which causes cracking. A gentle, ambient increase in room temperature works far better than blasting heat at one spot.
Dehumidifiers help in enclosed spaces, particularly during autumn and winter when natural ventilation isn’t doing much on its own. Running one in the room for several days can shave meaningful time off the wait.
Mist Coating: The First Layer
Once the plaster is properly dry, don’t reach straight for your finish paint. New plaster is porous and absorbent, and a full-strength coat will soak in unevenly, leaving patches and wasting paint.
A mist coat solves this. Dilute standard emulsion with around 10–20% water, depending on the paint’s thickness, and apply it as your first layer. This seals the surface slightly and gives the following coats something consistent to grip onto.
Let the mist coat dry fully, usually a few hours, before checking the wall. Some patches may still look thirsty and duller than others. If so, a second mist coat in those spots evens things out before you move to proper paint.
Choosing the Right Paint
Once the wall is sealed and dry, standard emulsion works fine for most rooms. Matt finishes suit ceilings and low-traffic walls, hiding minor imperfections in the plaster surface. Silk or satin finishes hold up better in kitchens and bathrooms where moisture and grease are ongoing issues, though they show surface flaws more readily.
Avoid oil-based paints on new plaster altogether. They don’t allow the wall to breathe in the way it still needs to during the later stages of curing. This traps residual moisture underneath.
What Happens If You Rush It
Painting too soon rarely fails immediately. That’s what makes it dangerous. The paint goes on, looks fine, and the room gets used normally for weeks. Then, as trapped moisture eventually finds a way out, bubbles form, cracks appear, or sections of paint peel away in sheets.
Fixing this means scraping back to bare plaster, waiting for proper drying all over again, and repainting from scratch. The time you saved by rushing gets lost several times over, along with the cost of extra paint and labour if someone else is doing the work.
A Practical Approach
Check the plaster’s colour and touch it regularly rather than guessing based on a calendar date alone. Every room dries at a different rate depending on ventilation, temperature, and plaster thickness. When in doubt, wait an extra few days. It costs far less than redoing the whole job.
Patience here isn’t about following an arbitrary rule. It’s about protecting the wall structure and the money already spent getting it plastered in the first place.
