
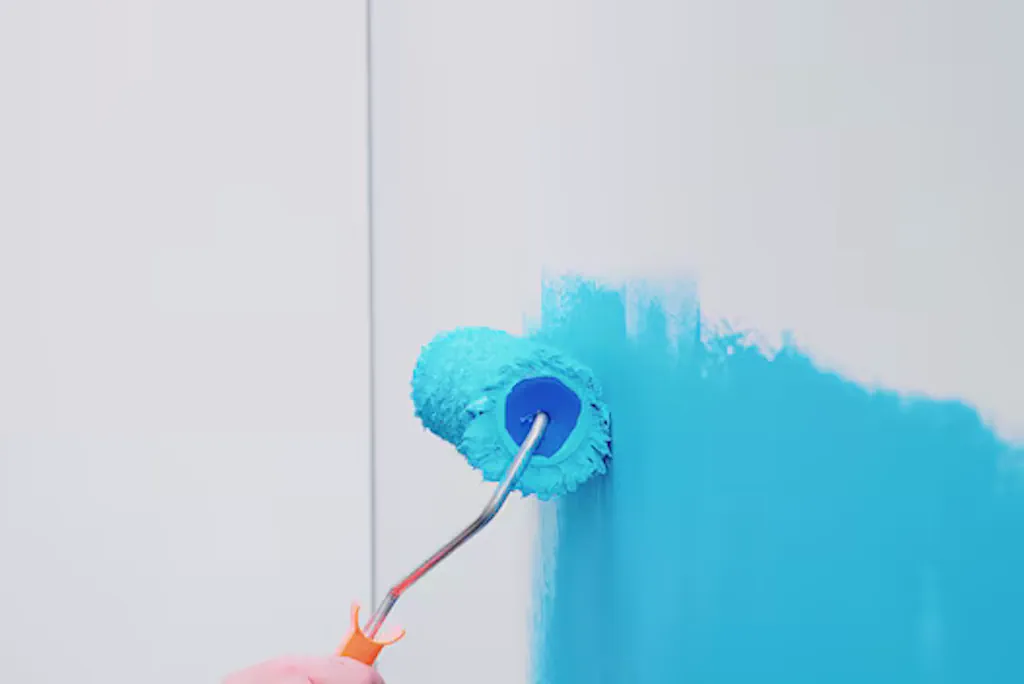
DIY Prep Tips for Homeowners
Painting a room or refreshing your décor feels rewarding. A clean, smooth surface is the difference between a flawless finish and a shoddy job. If you want to avoid streaks, patches, and peeling walls, follow these essential preparation tips.
Clear the Space
Start by removing as much furniture as possible. Large items that won’t shift should be dragged to the room’s centre and covered. Old sheets won’t cut it. Use thick dust sheets or polythene protectors. Paint splatters travel further than you think. Protect floors with a proper drop cloth, taping edges securely.
Remove Wall Fixtures and Fittings
Take down curtains, blinds, light fittings, and pictures. Unscrew wall brackets, hooks, and socket faceplates. It saves time later and avoids clumsy brushwork around obstacles. Pop a bit of masking tape over the screws and label parts so nothing gets lost. If you’re repainting skirting boards or coving, loosen wall sockets slightly to get a crisp line behind them.
Wash the Walls
Most forget this. Grease, dust, and fingerprints ruin paint adhesion. Wipe walls and ceilings with a sugar soap solution. Focus on kitchen walls where vapours settle and hallway areas where hands regularly brush past. Rinse with clean water and let them dry. It’ll improve how paint clings and ensure an even finish.
Repair Dents and Cracks
Inspect the surface under good light. Fill small holes and cracks with a suitable filler. For hairline cracks, widen them slightly with a scraper so the filler grips better. Sand down dried filler until smooth and level with the wall. Any raised edges or uneven patches will catch the eye once painted. Always dust down surfaces after sanding.
Key the Surface
Glossy paint repels new coats. If your walls have a sheen or have been painted with oil-based products, lightly sand them to dull the surface. Use fine sandpaper for walls and medium for woodwork. Vacuum the dust and wipe down with a damp cloth. It ensures paint sticks and lasts.
Use Quality Tape
Don’t skimp on masking tape. Cheap brands bleed under paint or peel off awkwardly. Apply tape neatly along skirting boards, sockets, switches, and any edges you need to protect. Press it down firmly with a scraper for a clean seal. Remove while the paint is still tacky to avoid tearing.
Prime Where Necessary
Fresh plaster, stained areas, and repaired patches need a primer. It seals porous surfaces and prevents uneven colour. Use a mist coat for new plaster, one part emulsion, and three parts water. Apply stain-blocking primer for watermarks or nicotine stains. It stops them from seeping through new paint layers.
Check for Damp
Look for signs of dampness or mildew before you begin. The paint won’t stick to wet patches. Deal with any source of moisture, treat the stain, and allow the wall to dry thoroughly. Ignoring this will only cause fresh paint to bubble and peel.
Right Tools, Right Job
Invest in a decent kit. Choose synthetic brushes for water-based paints and natural bristles for oil-based. Match roller pile to surface texture. Use a long-pile roller for rough walls and a short pile for smooth plaster.
For flawless results and a professional finish without the hassle, it’s worth considering hiring a painter and decorator. They’ll handle the prep and deliver a finish that lasts.
Proper preparation takes time. Follow these steps for your next decorating project. It will look sharp, clean, and done to a standard you can be proud of.
