
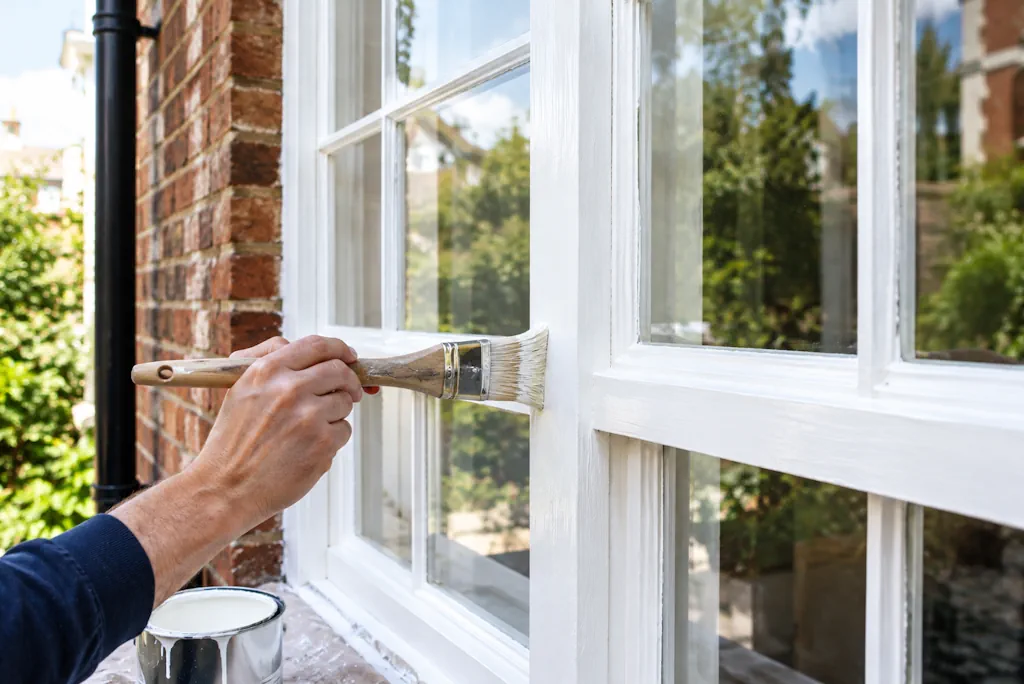
How Do You Paint Sash Windows Without Sticking Them Shut?
Every sash window owner has heard the horror stories or lived through one directly. Fresh paint goes on looking perfect, then a week later the window won’t budge. It’s stuck fast to the frame, and forcing it open tears fresh paint straight off the surface. This happens constantly, but it’s entirely avoidable with the right method.
Why Sash Windows Stick in the First Place
Sash windows work through close contact between moving parts. The sashes slide within a frame, running close enough to the frame’s edges to form a seal against draughts. That tight fit is exactly what causes trouble during painting. Paint adds thickness to every surface it touches, and if you paint the sashes shut, or paint two surfaces that touch each other, the paint itself acts as glue once it starts curing.
Old paint layers make this worse. Decades of repainting without proper care build up thick ridges along the edges of the sashes, narrowing the gaps further each time. Eventually, there’s barely any clearance left, and a single wet coat is enough to seal everything shut.
Move the Sashes Before You Start
The most important step happens before any paint touches the window. Open the sashes fully and move them regularly throughout the painting process, not just once at the beginning. Painters who paint a window shut, then leave it closed to dry, are asking for trouble. Paint needs airflow on both sides of a moving joint to cure properly without one surface fusing to another.
A good approach: paint the window in its open position, working on the parts you can reach. Then move the sashes to expose the sections that were hidden, and paint those. This staged approach means every surface gets painted, but no two freshly painted surfaces stay pressed together while curing.
The Meeting Rail Trap
The meeting rail, where the top and bottom sashes overlap in the middle when the window’s closed, causes more stuck windows than any other part of a sash frame. If you paint both meeting rails while the window’s shut, they’ll bond together as the paint dries.
Paint the meeting rails separately. Open the window fully so neither meeting rail touches the other, paint each one, and leave the window open until both are completely dry to the touch, not just surface-dry. Surface-dry paint can still be tacky underneath, and pressing two tacky surfaces together undoes hours of careful work in seconds.
Working the Frame and Runners
The runners and beading, the wooden strips that guide the sashes up and down inside the frame, need a light touch. Avoid loading these with thick paint. A heavy coat here narrows the channel the sash slides through, and even fully cured paint can create enough friction to jam the window or make it painfully stiff to operate.
Use a smaller brush for these narrow strips and apply thin, even coats rather than one thick layer. Two thin coats always outperform one thick coat on sash windows, both for appearance and for keeping the moving parts free.
Drying Time Matters More Than You Think
Rushing the process causes most sticking problems. Paint might feel dry within an hour, but that’s only the surface. The layer underneath stays soft for considerably longer, sometimes 24 hours or more depending on the paint type, humidity, and temperature. Oil-based paints, still common on period sash windows, take noticeably longer to fully harden than modern water-based alternatives.
Leave windows open, or at minimum, moving freely, for at least 24 hours after the final coat. In cold or damp weather, extend that to 48 hours. Patience here saves hours of scraping and repainting if things go wrong.
If a Window Has Already Stuck
Sometimes the damage is done before you read an article like this one. If a sash has stuck, don’t force it. Forcing a stuck sash tears paint, damages the wood underneath, and sometimes cracks the glass from the pressure.
Instead, run a thin-bladed scraper or a purpose-made sash saw along the seam where the paint has bonded, working slowly to break the bond without gouging the wood. A flexible filling knife works well for this too, sliding along the joint to separate the surfaces. Once it’s loose, open and close the sash a few times to prevent it from resealing while the paint finishes curing.
A Final Practical Tip
Choose a specialist trim or joinery paint designed for opening windows and doors, rather than standard wall or general-purpose exterior paint. These formulations resist blocking, the technical term for surfaces sticking together after painting, far better than paints designed primarily for static surfaces.
Getting sash windows painted well takes patience and a specific sequence, not special tools or professional training. Move the sashes often, paint the meeting rails separately, keep coats thin, and give everything proper time to cure before closing the window fully. Skip any one of these steps, and there’s a good chance you’ll be reaching for a scraper within the week.
